Understanding & checking sensors
Factory-calibrated — how the sensors measure and what to check if a value looks off
Your HydroCommander sensors are digital precision sensors and arrive factory-calibrated. They measure two things: soil moisture directly as a percentage (0–100%) and soil temperature in degrees. There is nothing to set up and nothing to "teach".
The temperature is more than a side note: in the history you see it next to the moisture — from that you can tell, for example, whether a zone stands in the midday sun or whether the sensors are at risk of frost in winter. It does not feed into the watering itself, not even in AI mode.
A dry/wet calibration like on simple analog sensors deliberately does not exist here: the sensor computes internally and outputs a ready-to-use percentage. This guide therefore explains how the sensors work, how to place them correctly and what to check if a value ever looks implausible.
1Factory-calibrated — nothing to set
Every sensor is factory-calibrated and measures soil moisture directly in percent. There is no dry and no wet value for you to define, and no periodic recalibration. Plug it in, push it into the soil — done.
Tip
You calibrate only the pumps yourself, once (flow rate in ml) — see the guide "Calibrate pump". That has nothing to do with the sensors.
See also: Calibrate pump
2How the sensor measures
The sensor measures capacitively along its 12 cm probe — contactless through a protective coating, with no bare metal contacts that could corrode. It captures moisture in the root zone, plus soil temperature. The housing is fully waterproof (IP68) and may stay in moist soil permanently.
3Correct placement = correct values
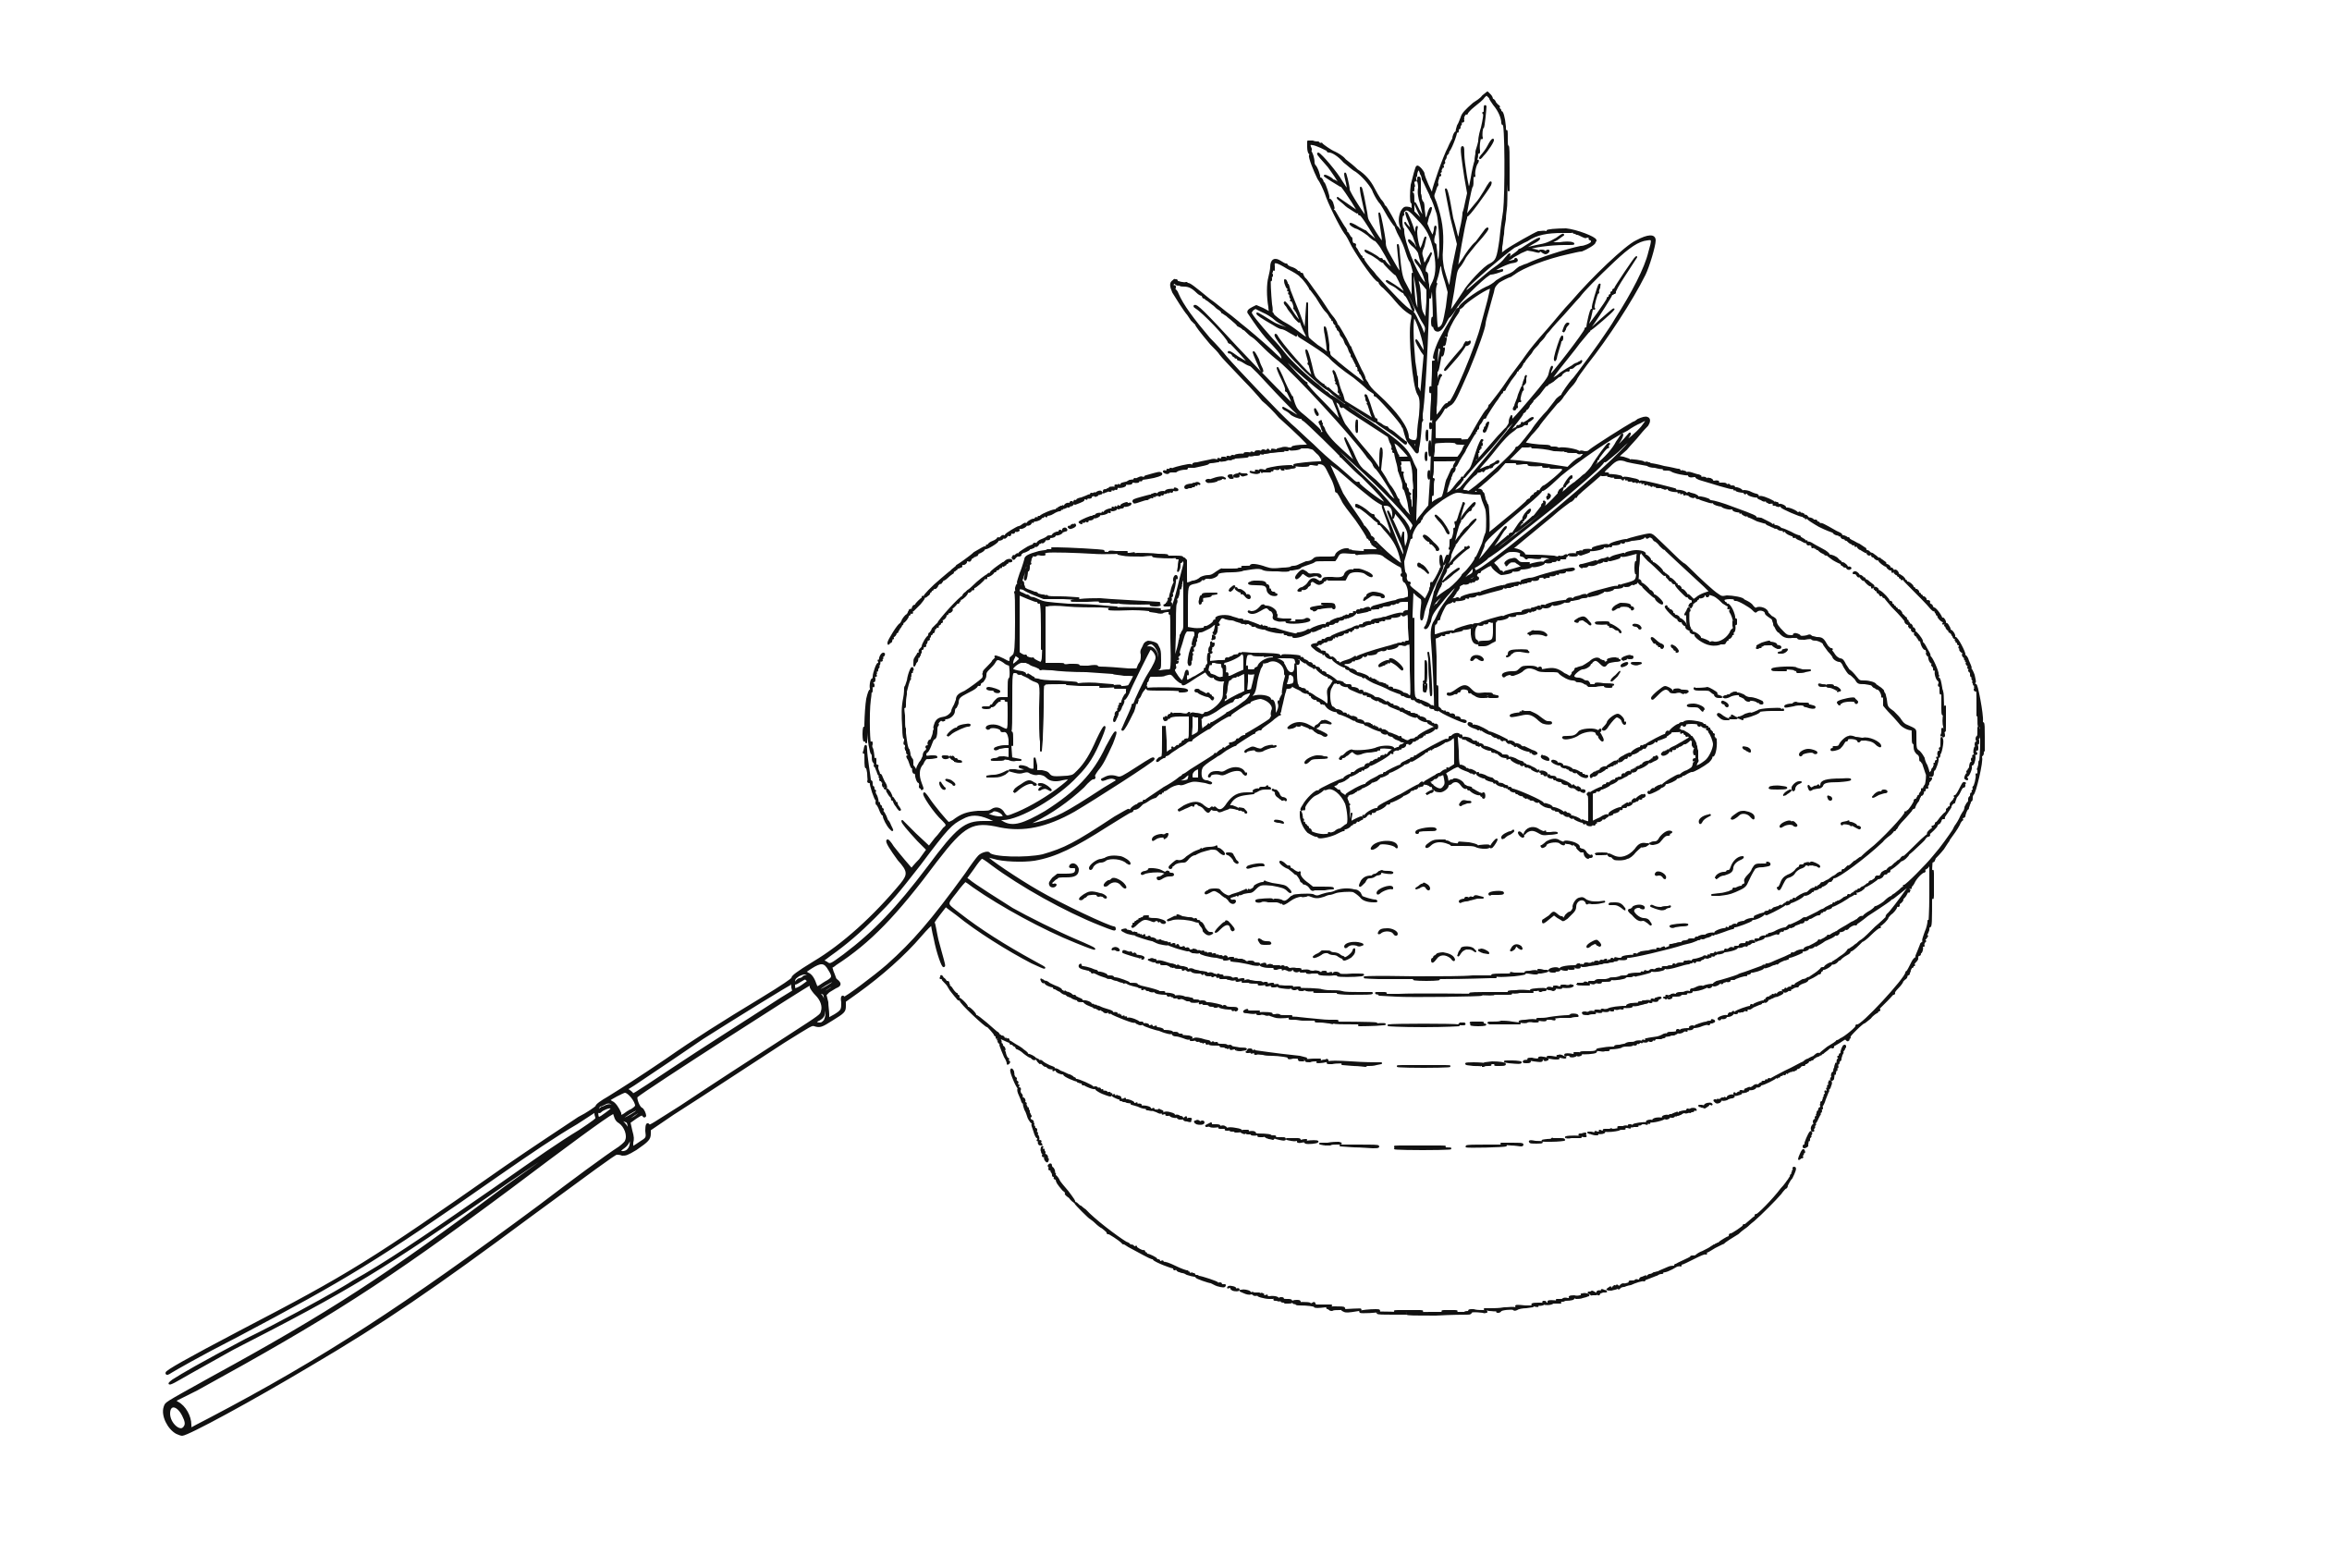
Distributor ringed around the stem, sensor anchoring it alongside The most important factor for correct values is good soil contact. Insert the sensor fully and snugly so the substrate sits all around it. Do not place it right against the pot wall or straight into the distributor's water jet.
Caution
Even a small air gap distorts the reading badly: air conducts almost nothing — the soil then reads too dry. If the gap fills with water while watering, the value jumps too high instead. So press the soil down lightly all around after inserting.
4Check the connector
The sensor cable connects via a USB-C plug: push it straight into the socket with the zone number until it clicks. The plug cannot go in the wrong way around — if it resists, it is crooked or in the wrong socket.
Tip
If the plug sits only halfway in, the contact can drop out and the zone reports a sensor error ("FAULT" on the device). Unplug it and push it straight back in until it clicks.
5A value looks odd? Usually it is NOT the sensor
Before you suspect the sensor, check the common causes:
- Air gap or loose soil around the sensor → press it down snugly.
- Salt/fertilizer crust on the sensing area → it dampens the reading, wipe it off (see next step).
- Sensor only half in the soil or in a watering puddle → set it deeper and into evenly moist soil.
- Freshly repotted → the soil settles for 2–3 days, values fluctuate normally during that time.
- Direct sun/very hot spot → slight fluctuations over the day are normal; keep the sensor out of direct sun.
6Clean the sensor (if needed)
Rinse soil or salt deposits off the sensing area with water and wipe it — done. If a stubborn crust is stuck on, a little isopropyl alcohol on a cloth helps; it dissolves residue and evaporates without leaving any.
Tip
The sensors are consumables: they sit permanently in moist soil and wear out over time. Do not use harsh or oily cleaning agents — they can leave a film that distorts the reading. Water, and a little isopropyl alcohol if needed, is plenty.
7Swapped or moved a sensor? Run the matching once
The device knows which sensor sits in which socket — it can switch the power of each socket separately and address each sensor on its own. This matching is done once during setup.
If you later move a sensor to a different socket or fit a new one, it is no longer correct. The sensor keeps reporting under its old zone: move it from socket 2 to socket 4 and it still shows as zone 2. And two swapped sensors swap two zones without anything looking wrong — the readings are perfectly plausible.
In that case, run the matching again. The device works through the sockets one at a time and gives each sensor the number of its socket.
In the app
Settings → Sensors → "Start matching".
On the device
Settings → Sensors → "Assign sensors".
Tip
Takes about a minute. The sockets are powered down one after another during that time and the zones show no readings — that is normal and passes by itself.
Caution
Do this after every sensor swap and every time you plug a sensor into a different socket. Otherwise the device waters the right amount to the wrong plant.
8Still wrong? → Troubleshooting
If a zone keeps showing implausible values or a sensor error ("FAULT" on the device), the guide "Sensor error (NIO)" takes it from there — step by step you clarify whether it is placement, connector, cable or actually the sensor.
See also: Sensor error (NIO)
AT A GLANCE
- Factory-calibrated (±3%) — no user calibration, no recalibration needed.
- Measures soil moisture directly in percent (0–100%) plus soil temperature.
- Capacitive, 12 cm, fully waterproof (IP68), robust scratch-resistant sensing area.
- Values look wrong? Almost always placement (air gap) or deposits — only rarely the sensor itself.