Configure a zone
Choose a plant, understand target moisture and tolerance, pick a mode
Here you tune a zone to its plant — from a ready-made preset to your own fine-tuning. You can set target moisture, tolerance, watering mode, pump duration and pause, the daily limit as well as plant age and stage.
THE KEY CONCEPT: The TARGET MOISTURE is the value the system holds — both Automatic and AI mode regulate to it. If the soil drops below it, watering starts; once the target is reached, watering stops.
The TOLERANCE (±) does NOT set a watering trigger. It spans the comfort range around the target (e.g. target 60%, tolerance ±10% → 50–70%), which is shown in the app and on the device, and it determines the HEALTH SCORE: that measures how much time the zone spends inside this range. So a tighter tolerance does not make the pump run more often — it only makes the rating stricter.
THREE WATERING MODES:
- Automatic (short form "AUTO") — waters in short bursts as soon as the soil falls below the target, with a pause in between. You set pump duration and pause yourself, on the device in the separate Automatic screen. Simple and robust.
- AI — fully automatic: learns how fast your soil dries and how strongly it reacts to water, then waters proactively with the right amount. It works out the amount itself; after the learning phase it keeps the pause from Automatic. See the guide "AI mode".
- Schedule — fixed times by clock and weekday. The sensor does not decide the timing, but it can skip a scheduled watering if the soil is moist enough anyway. See the guide "Watering schedule".
Each zone runs independently in its own mode.
1Open the zone
The path differs between app and device — the result is the same.
In the app
On the home screen (house icon, bottom left) tap the zone card. After that, most settings are right there on this one page.
On the device
On the home screen tap the zone card — you land in the zone detail view. From there, separate steps lead to the individual areas; they are not all listed one below the other as in the app.
2Choose a plant (optional)
A preset is a shortcut, not a must — you can set every value by hand and skip this step.
In the app
On the zone page scroll down to "Choose plant", tap it and pick a preset from the list — or create your own.
On the device
In the zone detail view tap "Settings", then the preset button at the bottom ("Pick preset" or the name of the current preset) and pick the preset from the overview.
Tip
A preset sets target moisture and tolerance — plus pump duration and pause for Automatic (after the learning phase the pause also applies in AI mode). Custom presets: see the guide "Custom plant presets".
See also: Custom plant presets
3Adjust plant settings
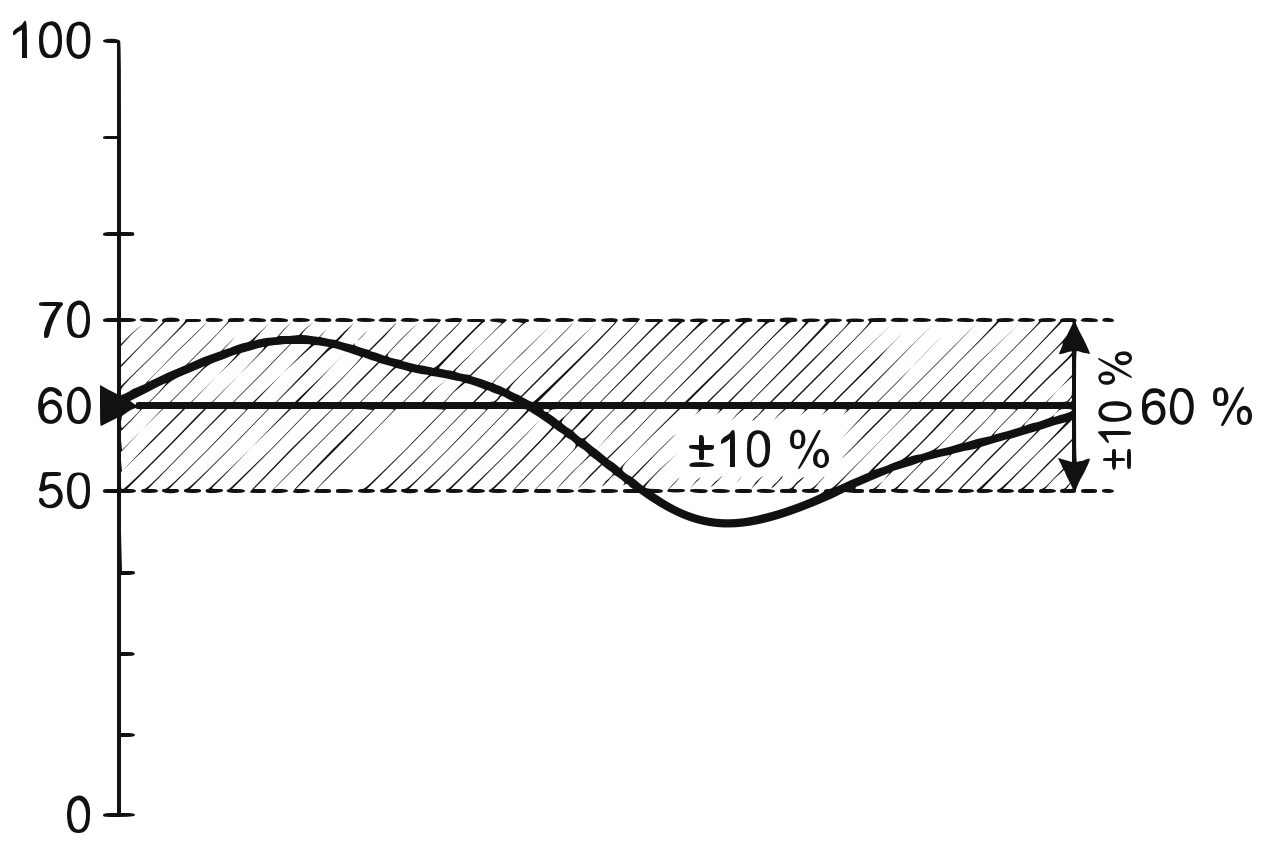
Target moisture as a line, tolerance as a band around it Here you configure:
- Zone name
- Target moisture (%) — the value the zone should hold
- Tolerance (±%) — spans the comfort range; the resulting range is shown right below
- Pump duration and pause — length of watering bursts and gap between them (for Automatic; after the learning phase the pause also applies in AI mode)
- Max daily amount (ml) — safety limit against overwatering
- Plant age
In the app
Tap "Plant settings".
On the device
In the zone detail view tap "Settings" — alternatively via Settings → Zones → choose zone. Pump duration and pause are in the Automatic screen there (mode bar at the top: "Automatic").
Tip
The tolerance determines the zone's health score: the tighter, the stricter the rating. It has no influence on the watering itself.
4Set the plant stage
The stage (seedling, growth, bloom, harvest, rest) feeds into recommendations and the AI calculation. It sits in different places in the app and on the device:
In the app
in the plant settings, together with the other values.
On the device
in the zone settings with < and > next to the stage — or in the zone detail view via the "Set stage" button (a separate popup with the five stages).
5Choose the watering mode
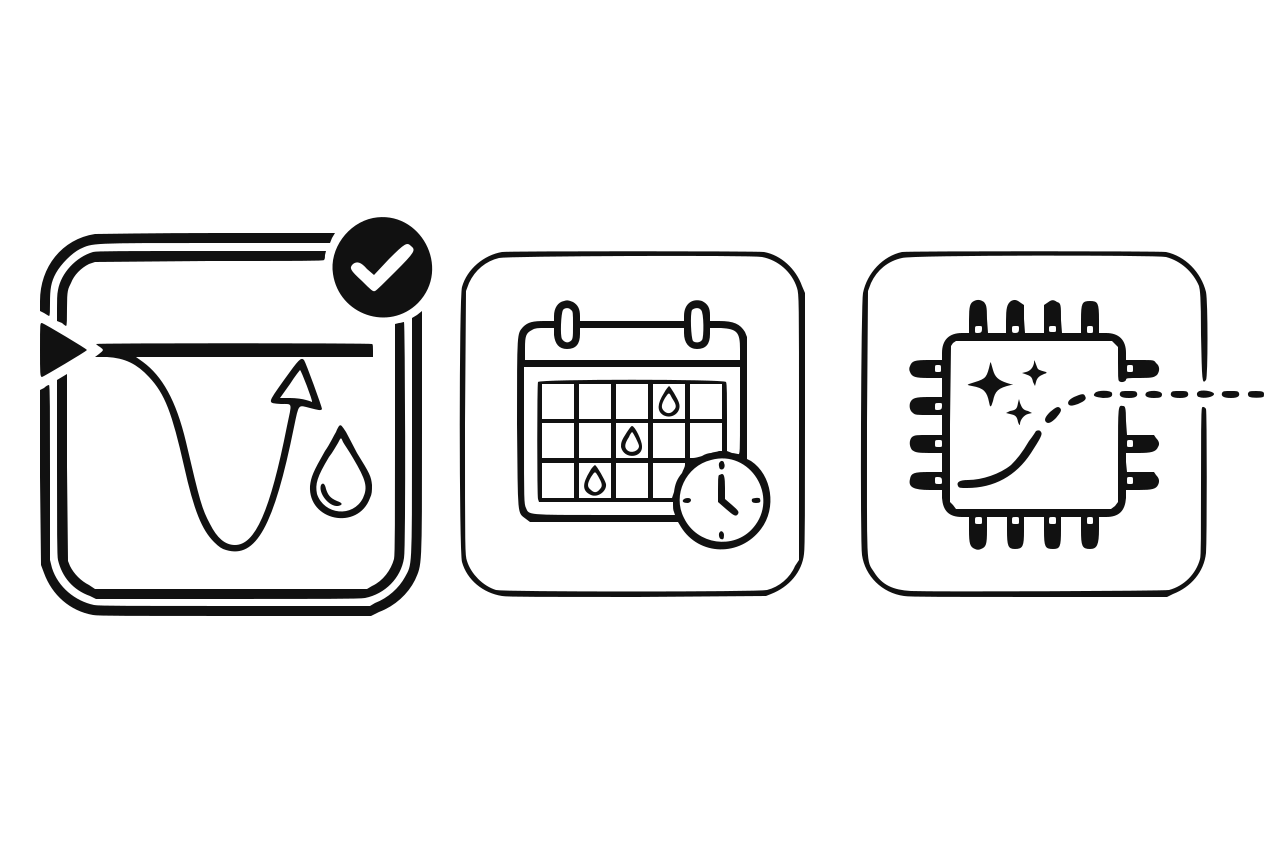
The three watering modes compared The modes are mutually exclusive: exactly one is active per zone.
In the app
In the zone detail view tap one of the three modes under "Watering mode".
On the device
At the top of the zone settings, in the mode bar, via "Automatic", "AI mode" or "Schedule" — each opens its own page with the button to switch it on at the bottom left. Switching one mode on switches the others off; with AI and Schedule off, the zone runs in Automatic mode.
6Set weather behavior (optional)
If weather control is enabled you can decide per zone whether it pauses on rain ("weather-dependent") — useful for balcony and garden, unnecessary for indoor plants. See the guide "Weather control".
See also: Weather control
7Test run
Tap "Water now (5s)" (on the device "Manual pump (5s)"). The test run checks the zone hardware: does the pump start audibly, and does water visibly come out of the water distributor? Then connection and hose path are fine.
Caution
No water? Check in order: can you hear the pump at all? If not, check the pump power of this zone (Settings → Pumps) — if it is at the very lowest setting, the pump still runs, but so quietly and weakly that it is easy to miss. If it runs audibly but nothing arrives: check the tank level, the hose on the numbered water outlet, the suction filter for clogging and air in the suction hose.
8Activate the zone
Switch on "Zone active". Only then does the zone water on its own — disabled zones can be fully configured but stay passive.
PLANT STAGES AND THEIR WATER NEEDS
- Seedling — very low. Moist but never wet; overwatering causes rot.
- Growth — medium to high. Continuous supply.
- Bloom — high. Biggest water turnover, keep consistently moist.
- Harvest — often rises again. In practice the plant draws heavily on water once more shortly before harvest; target values around 65% have proven themselves. One reason is the dense root network that by now surrounds the sensor.
- Rest — minimal. Water only to keep it from drying out.
SEEDLINGS: BY HAND FIRST, AUTOMATIC LATER. A seedling in its final pot has a lot of moist soil around very little root. The sensor then measures the soil all around it, not what the plant needs — the system waters too much, and that is exactly what kills seedlings. The recommendation is therefore: leave the zone inactive and water by hand until the pot is rooted through. How you can tell: the plant visibly puts on growth, and the first roots show at the drainage hole. A size in centimeters is no use here — how long it takes depends on the species and the pot.
If you want automatic watering right away, lower BOTH the target moisture and the watering amount considerably (target around 40 to 45%) and check daily for the first few days.
WHY THE PRESET STILL SETS A HIGH VALUE FOR THE SEEDLING: This does not contradict the low demand; it is a question of where the sensor sits. A seedling roots in the top two or three centimeters, while the sensor sits twelve centimetres deep and averages over that depth. At a reading of 50% the surface may already be dry while water remains further down — irrelevant for a large plant, not for a seedling. The higher target is therefore a margin for the measuring error, not greater thirst. What it does NOT change is the amount per watering: that is the same in every stage. If you want to be on the safe side with a seedling, lower the pump duration by hand — in the app in the plant settings, on the device in the Automatic screen.
Keep the stage current — it feeds into recommendations and the AI.
GOOD TO KNOW
- The zone's health score measures how much time the moisture spends inside the comfort range (target ± tolerance).
- In schedule mode there is no regulation toward the target moisture — the set times are what count. The sensor still stays active as a brake, though: if "Moisture check" is switched on, a scheduled watering is skipped as soon as the soil is moister than the threshold set there.
- For repotting or harvesting: use maintenance mode (pauses everything without touching your settings) — see its own guide.