Multiple devices
Manage and connect several HydroCommander devices in one app
Manage any number of HydroCommander devices with one app — for example one in the living room, one on the balcony and one in the greenhouse.
Each device stays completely independent. The app remembers three things per device: the name, the address on the network and the access token. Dashboard, statistics and settings always belong to exactly the device currently selected — nothing gets mixed up.
Switching takes a single tap: Settings → "My devices" → tap the device you want.
1Open device management
The path differs between app and device — the result is the same.
In the app
Settings → "My devices". All configured devices are listed there; the one currently in use is marked "ACTIVE".
2Add a device
Tap "Add new device". The connection wizard starts.
3Easiest: scan the QR code
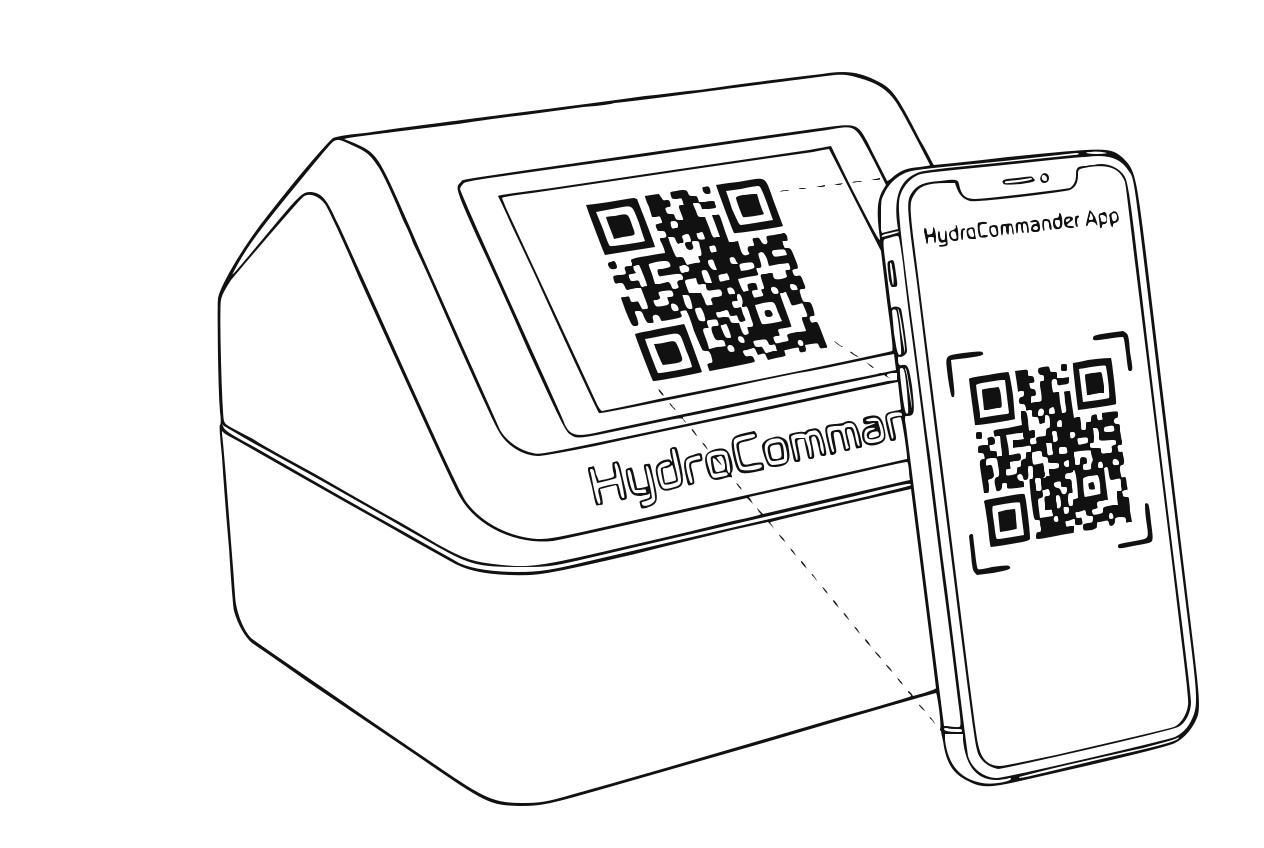
QR code on the device, scanned with the app On the new HydroCommander: open Settings → "QR / API token". Scan the QR code with the app — address and access token are filled in automatically, done.
4Alternatively: search or manual entry
The app can also scan the network automatically. Alternatively you enter the device's IP address or network name by hand — out of the box it is hydrocommander.local. Then type in the access token from the device display once.
Tip
The automatic search only finds devices on the same Wi-Fi. The token is on the display in the same window as the QR code.
Caution
Important with several devices: every HydroCommander starts with the same network name hydrocommander.local. If you run more than one on the same network, give each its own name — on the display under Settings → "System settings" → "System name". Otherwise it is no longer clear which device is meant.
5Confirm the connection
The app verifies the connection and adds the device to the list.
6Switch between devices
Settings → "My devices" → tap the desired device. Dashboard, statistics and settings now show that device; the "ACTIVE" marker moves with it in the list.
See also: Remote access (cloud)
RENAME / REMOVE A DEVICE
- Rename: Settings → "My devices" → long-press the device → enter a new name. If "Rename on the device too" is checked (the default), the device itself gets the new name as well — including its network name. If it is unchecked, only the label in the app changes.
- Remove: Settings → "My devices" → trash icon next to the device → confirm. This only deletes the app entry — the device itself is untouched and keeps watering.
ACCESS FROM ANYWHERE
By default the app works on your local Wi-Fi. For access from the road you can enable optional cloud remote access per device — see the guide "Remote access (cloud)". The app then picks automatically: direct connection at home, cloud when away.
TIPS
- Reserve a fixed IP in your router or use the network name — then the connection survives router restarts.
- Windows desktop app: automatic search does not work there — add the device via IP address + token.